Overview #
From your QuaverEd Music Integration Dashboard select the Music Integration Lessons icon.

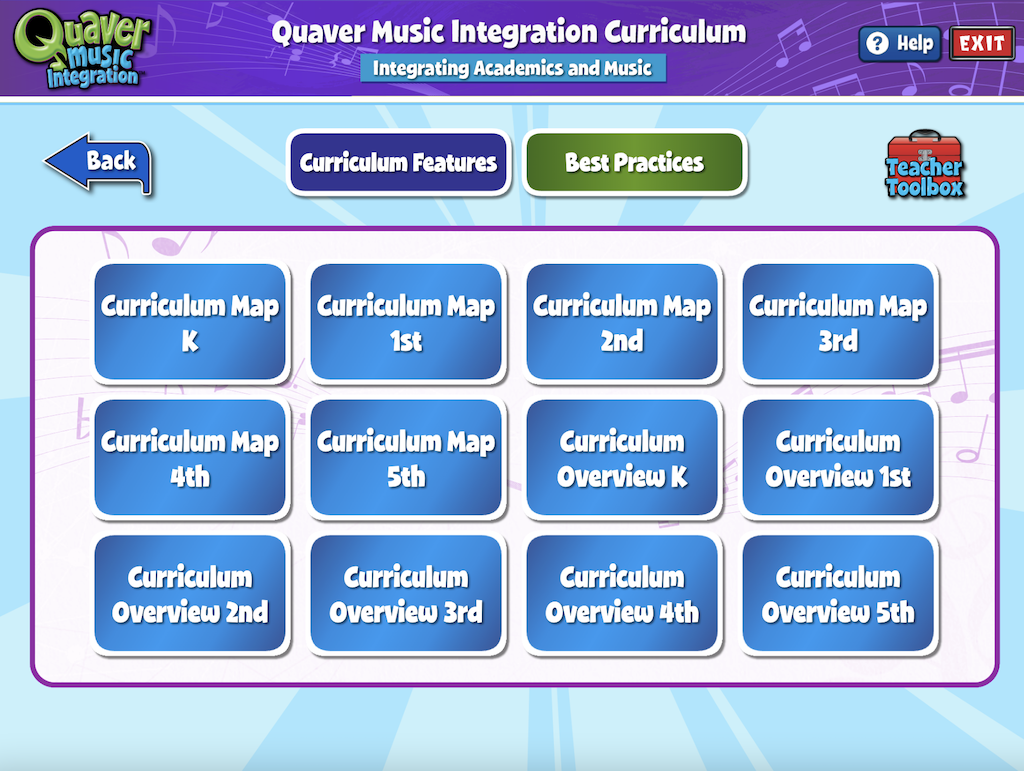
Curriculum Menu #
Once you open the lessons section, you’ll see:
- Curriculum Features & Best Practices
- Grade Level Menu
- Link to Teacher Toolbox
- 6 Modules
Use the purple arrow to view more Modules

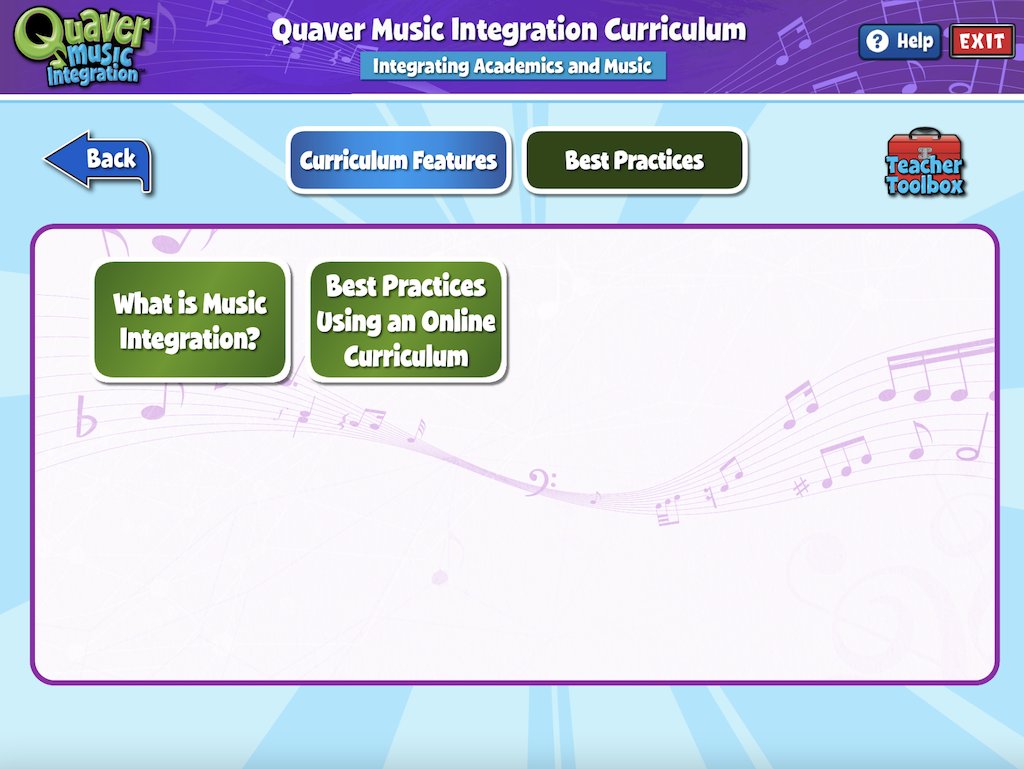
Curriculum Features and Best Practices #
The Curriculum Features and Best Practices button will guide you through the specific features of the QuaverMIC curriculum as well as best practices to support instruction. Here you will find Curriculum Maps and Curriculum Overviews.
Once a Module is open, you’ll see:
- Integration Content Area
- Grade Level & Musical Concept
- Theme
- 3 Lessons
Each of the Lessons is numbered and contains the lesson’s title, as well as the Featured Song, found in the lesson.
Each Featured Song is used throughout the three lessons as the vehicle for teaching cross-curricular content. Through the power of music, students are able to make deeper connections to the lessons which can lead to greater retention long-term.

Lesson Summary Screen #
On the Lesson Summary Screen, you’ll see an overview of each activity in the lesson, along with useful information for planning. The buttons at the bottom of the screen access:
- Overview – The purpose of the lesson
- Objectives – The student goals for the lesson
- Lesson Plan – A PDF version of the full lesson, which can be saved or printed
- Worksheets – Any lyrics sheets or activity printables related to the lesson

The Lesson Summary Screen defaults to the Icon View of the lesson Each activity is represented by a thumbnail preview of the interactive resource.
Click the list option to toggle to a List View with each activity listed by name with a corresponding icon representing the screen type. Toggle back to Icon View as needed.
To launch a lesson, click the green Launch button.

Lesson Content #
Each lesson contains a variety of interactive screens, songs, and connections for students to make across the curricular areas.
Click the Next and Previous arrows to present the lesson.
To switch to a specific screen, click the screen title at the bottom to reveal the list of screens in the lesson. Click the name of the screen.
Each lesson will conclude with a “What Did We Learn Today?” screen where you can review the lesson objectives following instructions.

Lesson Menu #
Select MENU to pull up the following tools and resources.
- DRAW – Add drawings directly to your lesson screens or use a blank screen.
- TEXT – Place custom text on your lesson screen. Click anywhere on the activity screen to open a new text box.
- WIDGETS – Select from the Keyboard, Metronome, Soundboard, D20 dice, and Timer icons to display it on the screen.
- TOOLS – Find options to Hide the screen, and a Grade option to change the grade level of the lesson.
- NOTES – These Notes are identical to those in the Lesson Plan, but are repeated here for easy access on each screen.
- VIDEO – If you have added video instructions on this screen, use this button to pull up the video instructions.
- WORKSHEETS – Take a quick peek at all of the printable worksheets available in the entire lesson.
- LINK – Generate a QR code or URL link for students to use on their own devices.
- LESSON – Returns you to the lesson
Link expiration date:
If you create the Link/QR Code on or before Dec 31st, it will expire the following June 30th.
All Draw, Text, and Widget items will remain displayed on the screen until you select Lesson.